
Sauces & Condiments
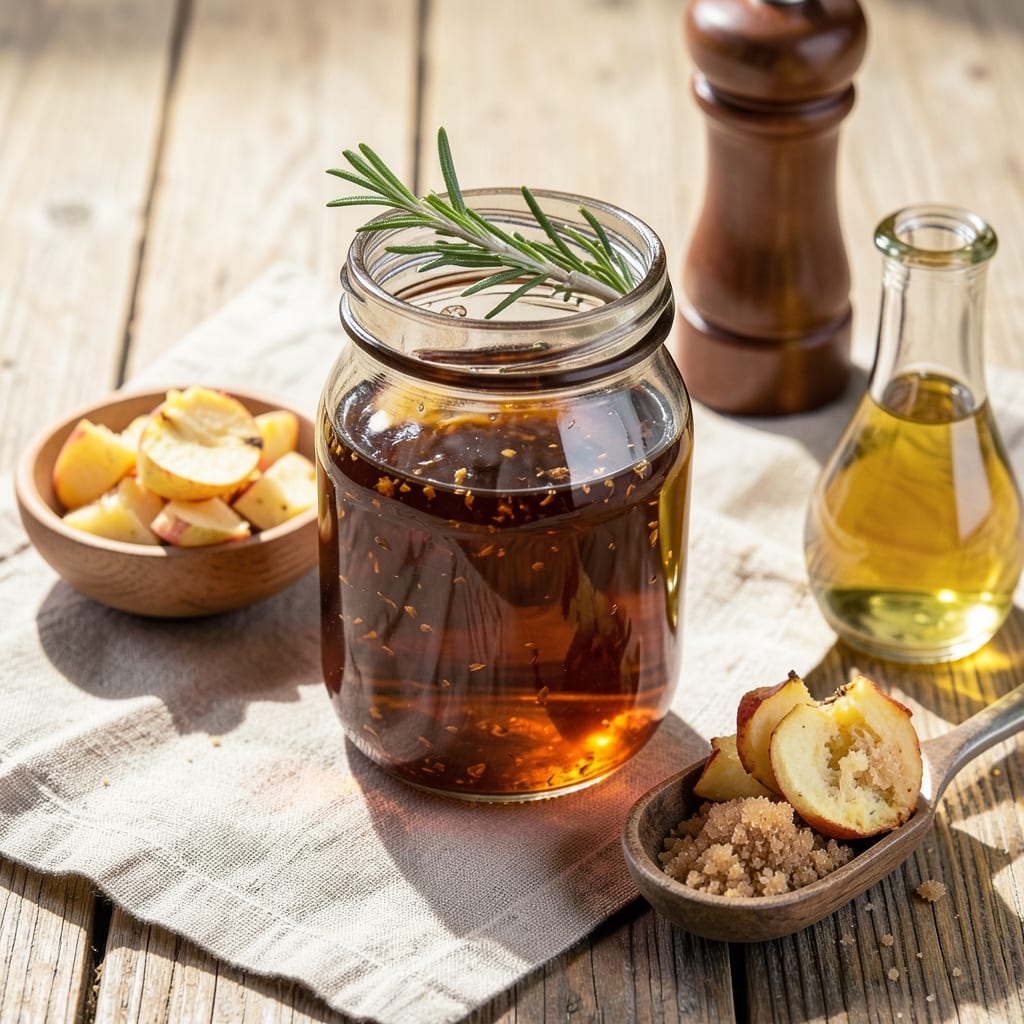
Transforming apple peels and cores into tangy, zero-waste apple cider vinegar recipe with the scraps is one of those kitchen magic tricks that feels both practical and satisfying. This fermented condiment captures all the bright, crisp flavors of fresh apples while giving your scraps new life—no waste, just flavor. I first discovered this technique while working in a farm-to-table kitchen in Asheville, where we were always looking for ways to maximize every ingredient.
The process is simple but requires patience: chopped apple scraps steep in water for a week to develop flavor, then ferment with a starter culture (or store-bought vinegar) for 4-6 weeks. The result is a rich, golden liquid with all the tangy depth of traditional apple cider vinegar, perfect for dressings, marinades, or even as a health tonic. The beauty of this method is that it turns something you'd normally toss into something valuable—both for your kitchen and your pantry.
What makes this recipe particularly rewarding is how versatile the finished vinegar becomes. Use it as a base for homemade salad dressings, a tangy addition to marinades for grilled meats, or even a natural cleaning solution. The fermentation process also creates probiotics, adding a subtle health boost to your condiments. Once you've made your first batch, you'll never look at apple scraps the same way again.
Storage is effortless—simply keep the vinegar in a clean glass jar in your pantry, where it will continue to develop flavor over time. For extra depth, consider adding herbs like rosemary or thyme during fermentation, or a touch of honey for sweetness. This is the kind of recipe that gets better with age and use, making it perfect for both beginners and seasoned cooks looking to reduce waste.
Ingredients for apple cider vinegar recipe with apple scraps
Four cups of scraps and a few pantry staples transform kitchen waste into golden tangy vinegar.
| Ingredient | Amount | Notes |
|---|---|---|
| Apple Scraps 🍎 | 4 cups | Cores, peels, chopped pieces (no bruised spots) |
| Filtered Water 💧 | 4 cups | Room temperature preferred |
| Raw Honey 🍯 | 1 tbsp | Local honey adds subtle flavor (optional) |
| Unpasteurized Apple Cider Vinegar 🍶 | ½ cup | Starter culture (or store-bought ACV) |
| Brown Sugar 🍚 | 1 tbsp | Feeds fermentation (optional) |
| Dried Rosemary 🌿 | 1 tsp | Or fresh thyme for herbal depth |
| Cheesecloth or Coffee Filter 🧻 | 1 piece | For straining (or fine mesh sieve) |
| Rubber Band 🔗 | 1 whole | To secure cloth over jar |
Apple scraps are the heart of this—use only peels and cores from organic apples if possible (conventional may have wax). Trader Joe's and Whole Foods often have organic apples at reasonable prices, but any apples work. I chop everything into small pieces (about 1/4-inch chunks) to maximize surface area for flavor extraction. The more scraps you have, the stronger the vinegar—double the batch if you're saving up scraps over time. For the starter, Bragg's or any unpasteurized apple cider vinegar works perfectly. If you can't find it, add 1 tablespoon of plain white vinegar instead.
No honey? Maple syrup at half the amount works just as well. Skipping the brown sugar is fine if you're patient—it just speeds up fermentation. Want extra flavor? Add a cinnamon stick or star anise during fermentation. The cheesecloth must be clean—run it through the wash if you're reusing it. For the jar, a wide-mouth quart mason jar is ideal (the wider opening makes straining easier later). If you don't have one, any clean glass jar with a lid that seals will work—just leave a little air space at the top to prevent overflow during fermentation.
Store your vinegar in a cool, dark place—pantry or cupboard is perfect. The fermentation process takes 4-6 weeks, but it keeps developing flavor for months. Once ready, strain through cheesecloth into a clean jar, pressing the solids gently to extract every last drop. The leftover apple mash can be composted or used in baking. The finished vinegar will keep indefinitely—it just gets better with age. For extra tang, let it sit uncovered in the fridge for a day or two before using.
Why You'll Love This Recipe
- Zero-Waste Magic: I keep a bag in my fridge for apple cores, peels, and ends—this turns them into something useful instead of trash. Just toss them in a jar with water, honey, and vinegar, and let time do the work.
- Tangy-Sweet Balance: That first sip hits like autumn in a bottle—bright from the vinegar, warm from the honey, with just enough brown sugar to round it out. Honestly, it’s the kind of drink that makes me reach for seconds without thinking.
- Endless Uses: Drizzle it over salads, mix it into dressings, or sip it straight—it’s my go-to for everything from brunch to late-night cravings. Even my picky kid asks for it in her lemonade now.
- Pantry Staple: A few dollars and five minutes is all it takes to make gallons of this stuff. I’ve got jars stashed in the fridge, freezer, and pantry—because why buy expensive vinegar when I can make it better?
Step-by-step instructions for homemade apple cider vinegar
Transform apple scraps into tangy vinegar with this simple, zero-waste method.
👨🍳 Step 1: Prepare the Apple Scraps and Starter Culture
Rinse the 4 cups of apple scraps thoroughly under cold water to remove any dirt or debris. Pat them completely dry with paper towels—moisture can slow down fermentation. Chop larger pieces into smaller chunks, about the size of a dime, to speed up the process. This ensures maximum surface area for fermentation to work its magic.
In a clean, wide-mouth quart jar, combine the prepared apple scraps with the 4 cups of filtered water. Stir gently to make sure all the pieces are submerged. Add the 0.5 cup of unpasteurized apple cider vinegar—this starter culture introduces beneficial bacteria that kickstarts fermentation. You can also add the 1 tbsp of raw honey and 1 tbsp of brown sugar here if using; these optional ingredients help feed the fermentation process and add subtle sweetness.
🍳 Step 2: Add Herbs and Seal the Jar
Crush the 1 tsp of dried rosemary between your palms to release its aromatic oils, then sprinkle it over the apple mixture. Stir gently to distribute the rosemary evenly. The herbs will infuse the vinegar with a delightful herbal note as it ferments. Place the piece of cheesecloth or coffee filter over the jar opening, securing it tightly with the rubber band. This allows airflow for fermentation while keeping out pests and debris.
I like to place the jar in a spot where it gets indirect sunlight—like a sunny windowsill—but avoid direct sunlight, which can overheat the mixture. If your kitchen is warm, this spot will speed up fermentation slightly. Just be sure to keep the jar in a place where it won’t be disturbed for at least 2 weeks.
⏰ Step 3: Ferment for 2-4 Weeks
Let the mixture sit undisturbed for 2-4 weeks. You’ll know fermentation is active when you see bubbles forming around the edges of the cheesecloth and a thin layer of liquid forms on top. This is the "mother" culture, a sign that good bacteria are hard at work converting sugars into vinegar. Stir the mixture gently every few days to keep the scraps submerged and prevent mold.
After 2 weeks, taste the liquid—it should be slightly tangy but still sweet. If it’s not tangy enough, continue fermenting for another 1-2 weeks. The longer it ferments, the stronger and more flavorful the vinegar will become. I’ve found that 3-4 weeks yields a well-balanced, tangy vinegar perfect for dressings, marinades, or even health tonics.
🥘 Step 4: Strain and Bottle the Vinegar
Once the vinegar reaches your desired tanginess, carefully pour the liquid through the cheesecloth or coffee filter into a clean glass bottle or jar. Press the apple scraps gently to extract as much liquid as possible—you should get about 3-4 cups of vinegar. Discard the strained scraps or compost them for a nutrient-rich addition to your garden.
Store the vinegar in a cool, dark place like a pantry or refrigerator. It will continue to ferment slowly, so the flavor will deepen over time. If you notice any signs of mold or an off smell, discard it immediately—fermentation gone wrong is rare but possible. Properly stored, your homemade apple cider vinegar can last indefinitely, though the flavor will evolve over months.
Pro Tips For Making Apple Cider Vinegar Recipe With Apple Scraps
- Simmer Slow and Steady: I learned this the hard way—rushing the simmer turns your vinegar into a weak, murky liquid. Keep it at a gentle boil (tiny bubbles, just breaking the surface) for at least 30 minutes. This builds depth without scorching the honey or burning the scraps—trust me, your future self will notice the difference.
- Chop Scraps Small: Big chunks mean half-cooked centers and a watery final product. Dice apple peels, cores, and trimmings into ½-inch pieces—no larger than a pea. They’ll infuse faster, and you’ll end up with a smoother, more flavorful vinegar instead of a chunky mess.
- Use Raw Honey Only: Processed honey won’t dissolve properly and can make your vinegar taste artificial. Raw honey adds complexity and blends seamlessly—just warm it slightly (under 100°F) before adding to prevent clumping. Cold honey sinks like a rock.
- Strain Twice for Clarity: After simmering, strain through a fine-mesh sieve first to catch solids, then through cheesecloth for a crystal-clear finish. The second strain removes the last of the grit, making your vinegar look (and taste) like it came from a jar, not your compost bin.
Perfect pairings for this dish
Dressing Game-Changer
This homemade apple cider vinegar transforms simple salads into flavor bombs. I love using it in a classic vinaigrette with 3 tbsp vinegar, 6 tbsp olive oil, 1 tsp Dijon mustard, and a pinch of sea salt. The tanginess cuts through creamy dressings beautifully. For a Southern twist, add 1 tbsp honey and a pinch of cayenne pepper—perfect for greens with crisp apples on top. 🥗
Marinade Magic
Tenderize chicken or pork with a marinade of ¼ cup vinegar, 2 tbsp olive oil, 1 tbsp maple syrup, 1 tsp smoked paprika, and ½ tsp garlic powder. Let it sit for 4-6 hours before grilling—this creates fall-off-the-bone texture with apple-cider depth. I marinate boneless chicken breasts for my family's Sunday dinners, and it's always a hit. 🍗
Healthy Tonics
Mix 1 tbsp vinegar with 8 oz warm water, a pinch of sea salt, and a drizzle of raw honey for a refreshing morning tonic. This combo aids digestion and balances blood sugar—Nana Mae swore by it after her big Thanksgiving meals. I keep a jar by my kitchen sink for quick fixes. 💧
Cleaning Powerhouse
Combine equal parts vinegar and water in a spray bottle for a natural cleaner. The acidity cuts through grease and grime on counters, cutting boards, and even stainless steel. I use it to sanitize my Lodge cast iron after cooking—just spray, wipe, and dry. It's a pantry staple that replaces harsh chemicals. ✨
Baking Booster
Add 1-2 tbsp vinegar to muffins, quick breads, or pancakes for extra moisture and a subtle tang. I use it in apple cinnamon muffins to enhance the apple flavor while keeping them tender. The vinegar reacts with baking soda for a perfect rise—just like Nana Mae's famous diner recipe. 🍎
Herbal Infusions
Create flavored vinegars by adding herbs during fermentation. Try 1 tsp fresh thyme or 2-3 cinnamon sticks for holiday gifts. The possibilities are endless—think rosemary-garlic for dipping oils or vanilla-infused for dessert sauces. These make thoughtful, zero-waste presents that last all year. 🎁
Nutrition facts
Frequently asked questions
Can I use bruised or rotten apple scraps for this recipe?
No, always use fresh apple scraps without bruises or rot. Bruised spots can introduce unwanted bacteria that may spoil your fermentation. For best results, stick to clean peels and cores from healthy apples—this ensures a clean, flavorful vinegar without any off-tastes.
How do I know when the fermentation is complete?
Fermentation is complete when the liquid tastes consistently tangy with no sweetness remaining. After 2-4 weeks, taste the mixture—it should have a bright, vinegary flavor. If it's still sweet, let it ferment another 1-2 weeks. The longer it ferments, the stronger the tang, but it won't over-ferment if stored properly.
What can I do if mold appears during fermentation?
If you see mold, discard the entire batch immediately—it's a sign of contamination. To prevent mold, always use clean equipment, keep scraps submerged, and store the jar in a warm but not hot spot. If mold appears, start fresh with a new batch of scraps and a clean jar.
Can I make this vinegar without a starter culture?
Yes, but it may take longer. Replace the 0.5 cup of starter vinegar with 1 tbsp plain white vinegar or even a pinch of sugar and a splash of water to kickstart fermentation. The process will still work, but expect it to take 6-8 weeks instead of 4-6 weeks for full tanginess.
How can I use up extra vinegar if I make too much?
Homemade vinegar is incredibly versatile! Use it in dressings, marinades, or even as a natural cleaner. For dressings, mix 3 tbsp vinegar with 6 tbsp olive oil and herbs. For cleaning, dilute with water in a spray bottle. You can also gift small jars to friends—it makes a thoughtful, zero-waste present!