
Desserts
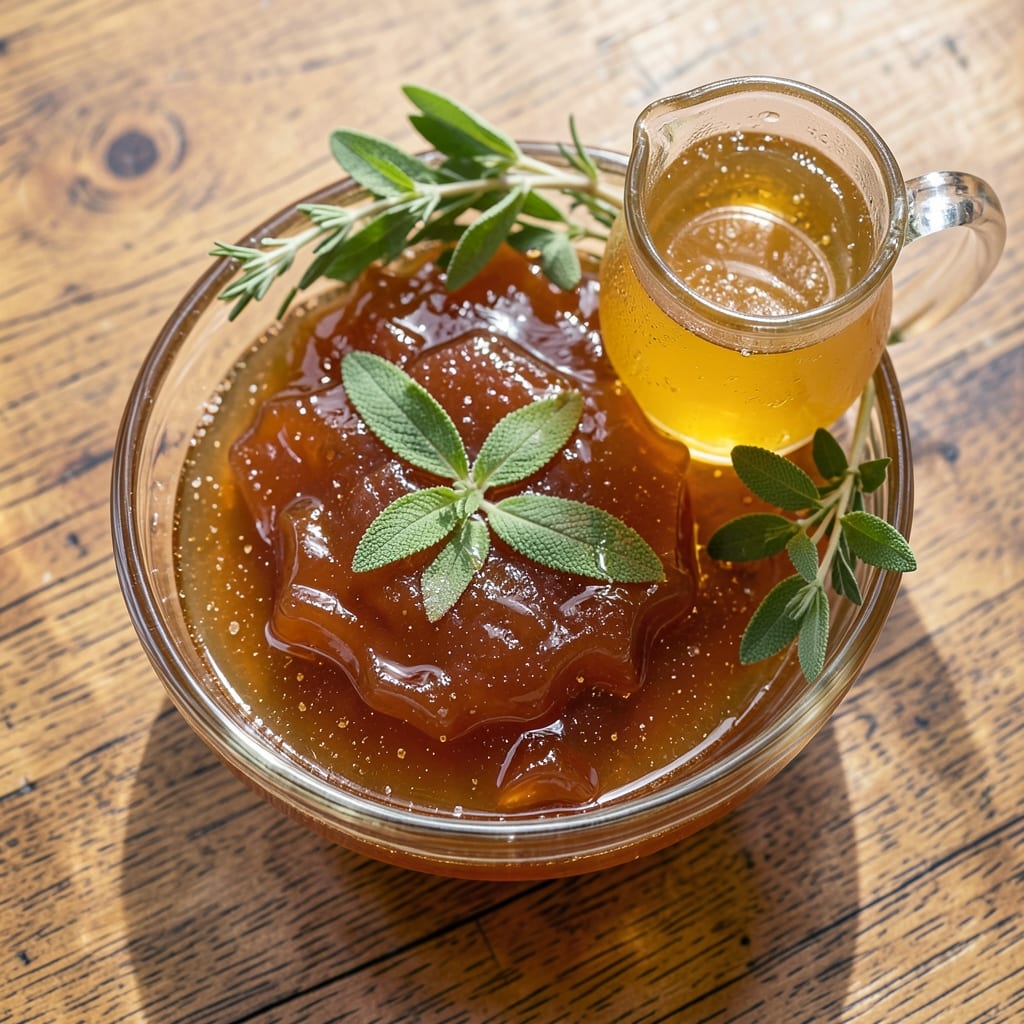
This apple and sage jelly recipe transforms simple apples and aromatic sage into a velvety, spreadable condiment that elevates everything from cheese boards to buttery toast. The process is straightforward—simmering apple juice with sugar, pectin, and fresh sage until it reaches that perfect semi-solid consistency, where it glistens like autumn sunlight. What makes this recipe special is how the sage infuses the jelly with a subtle earthy depth, balancing the natural sweetness of the apples without overpowering it.
The beauty of this jelly lies in its versatility—it’s not just for dessert. Spread it on warm sourdough for breakfast, drizzle it over sharp cheddar and cured meats for an unexpected twist, or use it as a glaze for roasted pork. The 30-minute active prep (plus cooling time) makes it perfect for meal prep, and the flavor only deepens as it sits, making it a pantry staple worth repeating. The key is patience: letting the sage steep just long enough to release its aroma without bitterness.
What you’ll end up with is a smooth, glossy jelly that’s rich enough to stand alone but bright enough to complement rich flavors. The texture is just thick enough to cling to a knife, yet still spreadable—ideal for layering on pastries or drizzling over vanilla ice cream for a sophisticated finish. Unlike store-bought jellies, this version carries the complexity of fresh ingredients, with the sage adding a herbal note that makes it unforgettable.
Store it in the fridge for up to 2 weeks or preserve it in sterilized jars for months—its adaptability ensures it’s always ready to elevate your next meal or snack. Whether you’re hosting a dinner party or simply craving a gourmet touch for your morning toast, this jelly delivers restaurant-quality results with minimal effort. Let’s get started!
Ingredients for apple and sage jelly
Seven simple ingredients transform into a velvety, herb-infused jelly perfect for toast and cheese boards.
| Ingredient | Amount | Notes |
|---|---|---|
| Fresh Sage Leaves 🌿 | ½ cup | Packed, stems removed |
| Unsweetened Apple Juice 🍎 | 2 cups | 100% apple juice, no additives |
| Granulated Sugar 🍚 | 1 ½ cups | White or raw cane sugar |
| Pectin (Powdered) 🍇 | 2 tbsp | High-methoxyl pectin preferred |
| Lemon Juice 🍋 | 2 tbsp | Freshly squeezed |
| Light Corn Syrup 🍯 | ¼ cup | Or honey for subtle sweetness |
| Cream of Tartar 🧂 | ½ tsp | Helps stabilize jelly |
The sage is the secret weapon here—fresh is non-negotiable for that aromatic depth. Grab a bunch from the grocery store's produce section (the Whole Foods or Trader Joe's varieties tend to be the freshest), or grow your own if you're lucky enough to have a herb garden. The leaves should be vibrant green, not wilted or yellowing. I usually buy more than I need—half goes into the jelly, and the rest gets used in pasta dishes or roasted potatoes. For the apple juice, store brands work just fine—no need to splurge on fancy stuff. Just make sure it's 100% apple juice with no added sugar or preservatives. The sugar can be any kind, but raw cane sugar adds a subtle caramel note that pairs beautifully with the sage.
No fresh sage? Dried works in a pinch—use half the amount, but steep it in the juice for 10 minutes first to wake up the flavor. Running low on pectin? Extra lemon juice at the end can help with gelling, though it won't be quite as stable. The corn syrup is optional but helps prevent sugar crystallization—honey or maple syrup are great substitutes if you prefer. If you're making this for a crowd, double the batch, but be ready for it to disappear fast. The jelly thickens as it cools, so don't over-stir once it starts to set, or you'll end up with a runny mess. And if you're feeling fancy, add a pinch of cinnamon to the mix for a warm spice note.
This jelly keeps beautifully in the fridge for up to 2 weeks if stored in a sealed jar. For longer storage, transfer to sterilized jars and process in a water bath for 10 minutes—it'll last for months. I like to portion it into small jars so I can grab one for breakfast or snacks without digging through the pantry. The flavor actually improves over time, so make extra. It's perfect for gifting too—just tie a ribbon around the jar and you've got a beautiful homemade present. If you accidentally overcook it and it turns out too thick, just thin it with a splash of warm water. And if it doesn't set properly? Add more pectin next time—it's the jelly's glue.
Why You'll Love This Recipe
- Five-Ingredient Magic: I swear, this jelly only needs five things—and they’re all pantry staples or fresh produce. No specialty shopping, no confusing steps: just juice, sugar, pectin, a handful of sage, and a squeeze of lemon. That’s it. Honestly, I’ve made it three times in a row with whatever was on hand.
- Herb-Infused Brightness: The sage isn’t just garnish—it steeps into the jelly, giving it this earthy, piney depth that cuts through sweetness. Pair it with sharp cheddar on crackers or drizzle it over vanilla ice cream, and suddenly, something ordinary feels special. Between us, that lemon juice twist keeps it from tasting cloying, even when I forget to taste-test as it cooks.
- Holiday Table Star: This jelly disappears at Thanksgiving, Christmas, or even a casual Sunday brunch. I’ve used it to glaze roasted pork, dollop it onto charcuterie boards, or even stirred it into yogurt for a fancy-ish breakfast. (Yes, even on a Tuesday night.) The best part? It’s the kind of thing guests will ask for the recipe—and they’ll actually remember it.
- Zero-Waste Pantry Hero: That jar of apple juice you’ve had for months? The sugar you’ll use anyway? The sage wilting in your fridge? This recipe turns them into something useful without breaking the bank. I’ve made three batches from one bag of sugar, and the leftovers? They last weeks in the fridge, perfect for last-minute gifts or forgotten lunches. Practical doesn’t get much better.
Step-by-step instructions for apple and sage jelly
This herbal jelly comes together in just 30 minutes with simple steps and big flavor.
Infuse the Sage into the Apple Juice
Place the 0.5 cup fresh sage leaves (packed and stems removed) into a medium saucepan. Pour in the 2 cups unsweetened apple juice and bring to a gentle simmer over medium heat. You'll see tiny bubbles forming at the edges—that's your cue it's ready.
Simmer uncovered for 10 minutes, stirring occasionally. The leaves will release their earthy aroma into the juice, creating that signature herbal note. Don't let it boil vigorously or the sage flavor will become bitter. After simmering, remove from heat and let steep for 5 minutes while you prepare the other ingredients.
Strain the infused juice through a fine-mesh sieve into a clean bowl, pressing gently on the sage leaves to extract every last drop of flavor. Discard the leaves—they've done their job. This infused juice is the heart of your jelly, so don't rush this step.
Prepare the Pectin Mixture
In a separate bowl, whisk together the 1.5 cups granulated sugar, 0.25 cup light corn syrup, 2 tbsp lemon juice, and 0.5 tsp cream of tartar until completely dissolved. This mixture should be smooth with no sugar granules remaining. I like to use a whisk for this—it helps dissolve the sugar faster than stirring with a spoon.
The cream of tartar here acts as a natural preservative and helps stabilize the jelly's texture. Don't skip measuring it precisely—too much or too little can affect the set. Taste the mixture now—it should be sweet but still tart from the lemon juice.
Combine and Cook to Gel
Pour the strained sage-infused juice into a clean, heavy-bottomed saucepan. Sprinkle the 2 tbsp powdered pectin evenly over the surface—this prevents clumping. Stir constantly for 1 minute until the pectin is fully dissolved and no lumps remain.
Add the sugar mixture all at once and stir vigorously for 2 minutes over medium-high heat. The mixture will foam up dramatically—this is normal. After 2 minutes, bring to a full rolling boil that can't be stirred down. Watch carefully—the moment it reaches this boil, set your timer for 1 minute of hard boiling.
This boiling time is critical for proper gel formation. After the minute is up, remove from heat immediately. The jelly will be thick and syrupy—this is exactly what you want. Pour into sterilized jars while still hot, leaving about ¼-inch headspace at the top.
Process and Store for Perfect Texture
Seal the jars and process in a water bath for 10 minutes to ensure shelf stability. This step kills any bacteria and helps preserve the jelly's vibrant color. Let the jars cool completely at room temperature before storing.
Once cooled, the jelly should have a beautiful golden hue with visible sage flecks throughout. It should be firm but still slightly jiggly when shaken—this indicates proper gel formation. Store in a cool, dark place for up to 3 months or refrigerate for 6 months for maximum freshness.
Pro Tips For Making Apple And Sage Jelly
- STIR CONSTANTLY AT FIRST: The first 2 minutes after adding pectin to the boiling juice are the only time it’ll set properly. I used to glance away for 30 seconds—big mistake. Keep that spoon moving until the mixture thickens noticeably, then ease off. If you slack off now, you’ll end up with runny jelly that tastes like regret.
- USE FROZEN SAGE WHEN FRESH ISN’T: Fresh sage bruises easily, turning your jelly bitter. Freeze the leaves first—just toss them in ice water for 10 minutes before using. They’ll stay vibrant, release flavor evenly, and you won’t waste half the bunch wilting while you measure. (Yes, even if you’re impatient like me.)
- MEASURE SUGAR AFTER REDUCING JUICE: Cold apple juice dilutes the pectin’s power. Reduce it to about half volume first—watch for that syrupy consistency, then cool slightly before adding sugar. I learned this the hard way when my jelly turned out grainy and weak. Patience here saves you from scrapping the whole batch.
- SKIP THE BOIL-OVER BY OILING THE POT: Apple juice is a frothing menace. Lightly coat your pot with oil before adding the juice—just a thin layer. It’ll prevent the juice from sticking and boiling over like a rebellious teenager. No more burnt edges or sticky messes to scrub out. (Your future self will thank you.)
Make-ahead tips for this dish
Batch Prep Strategy
Make a double batch of this jelly—it disappears fast! I typically quadruple the recipe for my family of four, yielding about 4 pint-sized jars. Store extras in the fridge for 2 weeks or preserve them in sterilized jars for 3 months. The flavor actually improves with time, so don’t hesitate to make extra for gifts or future meals. 💫
Fridge vs. Pantry Storage
For short-term use, keep your jelly in the fridge in an airtight container—it’ll last up to 2 weeks while maintaining its vibrant color and texture. If storing in the pantry, use sterilized jars and process in a water bath for 10 minutes to extend shelf life to 3 months. I like using Ball Mason jars for this—they’re sturdy and seal beautifully. 🌿
Freezing for Long-Term Use
Freezing isn’t ideal for jelly, but you can do it in a pinch. Portion into small, airtight containers (like silicone molds) and freeze for up to 3 months. Thaw overnight in the fridge before using—it’ll be slightly softer but still delicious. I avoid freezing because it can alter the texture, but it’s a lifesaver if you’ve made more than you can use in a month. ❄️
Gifting Made Easy
This jelly makes a thoughtful, homemade gift—just package it in small jars with a ribbon or label. I like adding a handwritten note about the recipe or pairing suggestions. For extra flair, attach a mini wooden spoon or a cheese board recipe card. It’s always a hit at holiday parties or housewarming gifts. 🎁
Reheating and Reusing
If your jelly thickens too much in the fridge, simply warm it gently in a saucepan over low heat, stirring until smooth. You can also thin it with a splash of water if needed. Leftover jelly can be repurposed—try it as a glaze for roasted meats or a drizzle for pancakes. The versatility is one of its best features! 🔥
Prep Ahead for Parties
Make this jelly a day ahead of your gathering—it tastes even better after the flavors meld. Store it in the fridge, then reheat slightly before serving to bring out its glossy sheen. I often prep it the night before hosting so I can focus on other dishes. It’s a crowd-pleaser that requires zero last-minute effort. 💛
Nutrition facts
Frequently asked questions
Can I use dried sage instead of fresh?
Yes, but adjust the amount! Use 1 tablespoon dried sage (about 1/4 of the fresh amount) and steep it in the warm apple juice for 10 minutes before straining. Dried sage is more concentrated, so this ensures you get that herbal depth without bitterness.
Why did my jelly turn out runny?
Runny jelly usually means either the pectin didn't activate properly or the cooking time was too short. Double-check that you brought it to a full rolling boil for the full 1 minute after adding the sugar mixture. Also, ensure your pectin was fresh—old pectin loses effectiveness. If it still doesn't set, try adding 1 extra teaspoon of pectin next time.
How can I make this jelly less sweet?
Reduce the sugar to 1 cup instead of 1.5 cups and add 1 extra tablespoon of lemon juice to balance the flavor. For a more natural sweetness, replace half the sugar with unsweetened applesauce (about 1 cup). The jelly will still set but with a milder sweetness. Taste as you go—adjust gradually!
Can I substitute apple juice with something else?
You can use unsweetened white grape juice or pear nectar in a pinch, but apple juice gives the best flavor balance. For a deeper fruit taste, try 1 cup apple juice + 1 cup strained apple sauce. Avoid citrus juices—they can interfere with the pectin's ability to set properly. The apple base is key for that classic jelly texture.
What are the best ways to use this jelly?
Spread it on toasted sourdough or brioche for breakfast, drizzle over sharp cheddar or goat cheese, or use as a glaze for roasted pork or chicken. It also pairs beautifully with dark chocolate desserts or as a dip for fresh fruit. The sage adds an unexpected herbal note that works surprisingly well with savory dishes too!