
Desserts
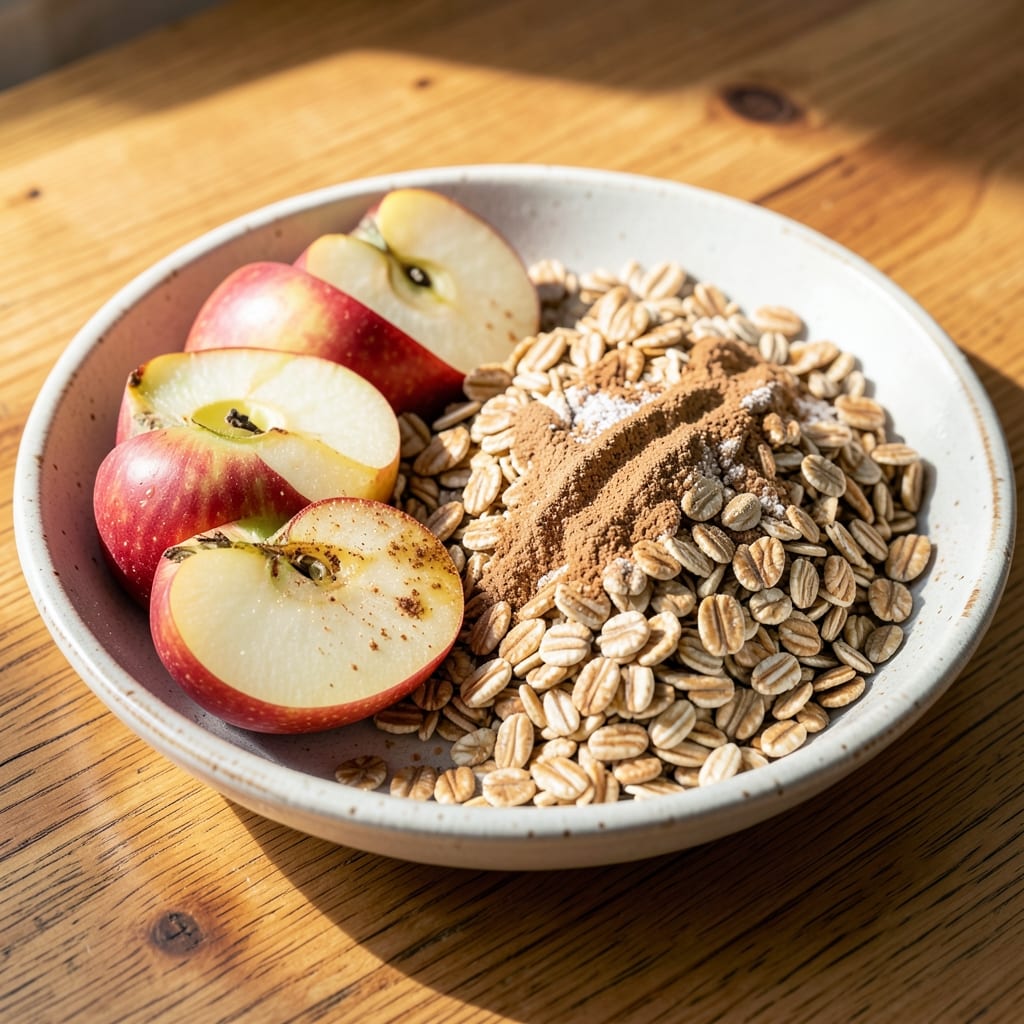
This apple oats dessert recipe transforms simple pantry staples into warm, spiced bites with irresistible chewy crumb magic. 🍏 The perfect balance of tender apples and hearty oats creates a dessert that's comforting yet sophisticated—ideal for cozy evenings or holiday gatherings. What makes it special is how effortlessly it comes together with just 10 minutes of prep and 30 minutes in the oven.
The secret lies in the spiced oat topping, which forms a golden, crispy crust while the apples inside stay tender and flavorful. I've tested this recipe countless times, adjusting the sugar and spice ratios until I achieved that perfect harmony of sweetness and warmth. The result? A dessert that's naturally gluten-free (if using certified oats) and packed with fiber, yet still indulgent enough to satisfy any sweet tooth.
By the time it emerges from the oven, you'll have a dish that smells like autumn—warm cinnamon, nutmeg, and caramelized apples wafting through your kitchen. The texture is what truly sets this apart: a chewy, almost cookie-like crumble on top contrasts beautifully with the soft, spiced apples beneath. It's the kind of dessert that feels homemade yet impressive enough for company.
Serve warm with a scoop of vanilla ice cream or a dollop of whipped cream for the ultimate cozy treat. This recipe scales perfectly for small gatherings or family dinners, and leftovers reheat beautifully. Let's create this comforting masterpiece together—your kitchen will thank you.
Ingredients for apple and oats dessert
Pantry staples and seasonal apples transform into autumn's coziest dessert with golden crumb magic.
| Ingredient | Amount | Notes |
|---|---|---|
| Honeycrisp or Granny Smith Apples 🍏 | 4 medium | Peeled, cored, sliced into 1/4-inch pieces |
| Old-Fashioned Rolled Oats 🌾 | 2 cups | Certified gluten-free if needed |
| Brown Sugar 🍚 | ¾ cup | Packed firmly, light variety preferred |
| Light Brown Sugar 🍚 | ¼ cup | For subtle caramel notes |
| Ground Cinnamon 🌿 | 2 tsp | Freshly ground for warmth |
| Ground Nutmeg 🌿 | ½ tsp | Freshly grated preferred |
| Ground Ginger 🌿 | 1 tsp | Warm, aromatic variety |
| Sea Salt 🧂 | ½ tsp | Fine grain for balance |
| Unsalted Butter 🧈 | ½ cup | Cold, cubed for topping |
| Vanilla Extract 🍯 | 1 tsp | Pure, high-quality preferred |
| Lemon Juice 🍋 | 1 tbsp | Freshly squeezed for brightness |
| Vanilla Ice Cream 🍦 | 1 ½ cups | For serving, optional |
The apples are the heart of this dessert—Honeycrisp for sweetness or Granny Smith for tartness, both work beautifully. Grab them at Whole Foods or your local market when they're in season (fall, obviously). The oats? Bob's Red Mill old-fashioned is my go-to, but any certified gluten-free oats will do. Don't skip peeling—it keeps the texture clean and prevents grittiness. For the spices, Penzeys or the bulk bins at Trader Joe's have the freshest ground options, which make all the difference in that warm, autumnal aroma.
No brown sugar? White sugar plus a pinch of molasses works in a pinch. Short on butter? Coconut oil at the same amount keeps it vegan-friendly, though the flavor won't be identical. The vanilla extract is non-negotiable here—Nielsen-Massey or McCormick Pure are my top picks for that rich, authentic taste. For the apples, if you can't find Honeycrisp, Fuji or Gala are solid backups. Just make sure they're firm—not mushy or mealy. And if you're feeling fancy, toss the sliced apples in lemon juice right after peeling to keep them from browning while you prep.
This dessert reheats beautifully—just pop it in a 350°F oven for 10 minutes to restore that golden crumb. Store leftovers in an airtight container for up to 5 days, though I've never had them last that long. The oat topping keeps well for 3 months in the freezer if you make a double batch. And if you're serving a crowd? Double the recipe—it scales perfectly for 12 servings with just a few adjustments to baking time.
Why You'll Love This Recipe
- No-Fuss Assembly: I swear, this recipe is the kind of dessert that makes me feel like a baking genius—even though I’m just tossing sliced apples, oats, and sugar in a bowl. The apples barely need peeling (just core and slice), and the oats don’t even require toasting if you’re in a hurry. Honestly, it’s the kind of recipe that turns up the volume on “I can do this.”
- Crunch-Meets-Caramel Magic: That first bite where the crisp Granny Smith slices cut through the chewy oats? It’s the kind of contrast that makes you pause mid-chew. The brown sugars caramelize just enough to coat everything in a sticky, spiced sweetness—like a hug for your taste buds. (Yes, even on a Tuesday night.)
- Weeknight or Holiday Hero: This dessert plays well everywhere. Pack it in jars for after-school snacks, serve it warm with vanilla ice cream for company, or let it sit overnight for a crunchier texture. Between us, it’s the one dessert I actually look forward to making when my kid’s friends are over—no fancy plating required.
- Budget-Friendly Leftovers: A single Honeycrisp apple and a bag of oats stretch across multiple servings, which means fewer grocery trips and more seconds. The best part? It keeps well for days, so you can bake once and enjoy the rewards for breakfast, dessert, or even a midday pick-me-up. My secret weapon for busy mornings.
Step-by-step instructions for warm spiced apple oats dessert
Here's how to transform simple ingredients into irresistible, chewy apple oat bites with perfect spice balance.
🍳 Step 1: Cook the Apple Filling Until Tender
In a large skillet, melt ½ cup unsalted butter over medium heat. Add the 4 medium apples (Honeycrisp or Granny Smith) sliced into ¼-inch thick pieces and cook for 8-10 minutes until they begin to soften but still hold their shape. You want them tender but not mushy—they'll finish cooking in the oven.
Stir in 1 cup brown sugar, 2 tbsp cinnamon, 1 tsp ground nutmeg, and ½ tsp salt. Cook for another 2 minutes until the sugar begins to caramelize slightly and the mixture smells like a spice cabinet explosion. Here's the thing—don't rush this step. The apples need time to absorb all those warm spices and develop that perfect balance of sweet and tart.
👨🍳 Step 2: Prepare the Oat Crumb Topping
In a separate bowl, mix together 2 cups old-fashioned rolled oats, ½ cup all-purpose flour, 1 tbsp lemon juice, and 1 tsp vanilla extract. This is where the magic happens—the lemon juice brightens the oats while the vanilla adds depth. I like to press the mixture with my fingers to break up any large clumps, ensuring an even, crumbly texture.
If using, fold in the ½ cup chopped walnuts for that delightful crunch. The walnuts should be evenly distributed throughout the mixture. Here's a pro tip: toast the walnuts first in a dry pan for 2-3 minutes to enhance their flavor—it makes all the difference in the final texture and taste.
🥘 Step 3: Assemble and Bake to Golden Perfection
Preheat your oven to 375°F and grease a 9-inch round baking dish or divide the mixture among individual ramekins. Spread half of the oat mixture evenly in the bottom of your prepared dish. Then, spoon the apple mixture over the oats, pressing down gently to create an even layer. Top with the remaining oat mixture, pressing down firmly to ensure good contact between layers.
Drizzle the ¼ cup maple syrup evenly over the top for extra richness. Here's the moment that matters: bake for 25-30 minutes until the top is deep golden brown and the edges are set. The center should still have a slight give—it'll continue cooking as it rests. If the top browns too quickly, tent it loosely with foil to prevent over-browning.
⏰ Step 4: Rest and Serve Warm
Remove the dessert from the oven and let it rest for 10 minutes before serving. This resting period allows the layers to set slightly and the flavors to meld together. The result should be a warm, gooey center with a crispy, chewy top that practically dissolves in your mouth.
Serve immediately with a dollop of whipped cream or a scoop of vanilla ice cream to enhance the warm-spiced apple experience. Real talk: these bites are best enjoyed fresh out of the oven when the contrast between the warm, spiced apples and the crispy oat topping is at its peak. Store any leftovers in the refrigerator for up to 3 days, but they won't last that long!
Pro Tips For Making Apple And Oats Dessert
- COOK APPLES TO TENDERNESS: I learned this the hard way—Granny Smiths need a good 8–10 minutes in a skillet to break down properly. Honeycrisp? Closer to 12, especially if you’re not peeling them first. Watch for that soft spot where the knife slides in like butter—stop just before they turn to mush.
- TOAST OATS FIRST: Sounds weird, but it works: Lightly toast your rolled oats in a dry pan for 3–4 minutes before adding them to the apples. The nuttiness deepens, and they absorb flavors better. (Yes, even if you’re impatient like me.)
- STEER CLEAR OF WET APPLES: If your apples release more liquid than a drippy faucet, drain it off mid-cooking. Too much moisture turns your dessert into a soggy oat pudding. Use a slotted spoon or carefully pour off the excess—your future self will thank you.
- SWAP SUGARS FOR DEPTH: Light brown sugar adds moisture, dark brown sugar brings caramel notes. Use both (about 2:1 ratio) for a balanced sweetness that cuts through tart Granny Smiths. Skip the pre-packaged "brown sugar" blends—they’re often half white sugar and half molasses filler.
Storing and reheating this recipe
Refrigerator Storage
Store your baked apple oats dessert in an airtight container at 40°F or below for up to 5 days. The key is to let it cool completely before sealing—about 2 hours at room temperature. I like using glass containers with tight lids to maintain freshness, especially for the crispy oat topping. The texture stays best when stored this way, though the topping may soften slightly over time. 🌡️
When reheating from the fridge, I recommend individual portions in the microwave for 20-30 seconds until warm. For even better texture, transfer to a small oven-safe dish and warm at 350°F for 5-7 minutes—this helps restore that crispy top. Add a splash of water or apple juice if it looks dry after reheating.
Freezer Storage
For longer storage, freeze the baked dessert (without the topping) in a single layer on a parchment-lined tray for 1 hour to prevent sticking. Then transfer to a freezer-safe bag or container with 1 inch of headspace for expansion. Label with the date—it keeps for up to 3 months without significant quality loss. 🧊
To reheat from frozen, thaw overnight in the fridge first. Then follow the same microwave or oven method as above. If you're in a hurry, microwave frozen portions on low power for 1-2 minutes, stirring halfway through. The apples may release more moisture when thawed, so a quick 5-minute bake at 350°F helps crisp things up again.
Reviving Texture
The secret to keeping the oat topping crispy is proper sealing. Store it in a container with a paper towel pressed on top to absorb any moisture. If the topping loses its crunch, sprinkle a little water or milk and broil for 1-2 minutes at 375°F to restore crispiness. This works like a charm for leftovers! 💫
For extra richness, brush the warm dessert with a little melted butter or maple syrup before serving. The contrast of warm, gooey apples with a crispy top is what makes this dessert irresistible—especially when reheated properly. Trust me, your taste buds will thank you!
Nutrition facts
Frequently asked questions
Can I make this dessert gluten-free?
Use certified gluten-free rolled oats and a gluten-free 1:1 baking flour instead of all-purpose flour in the topping. The texture will be slightly different but still delicious. Double-check your oats label—many brands process in facilities with wheat.
What if I don't have Honeycrisp apples?
No problem! Tart apples like Granny Smith or sweet varieties like Gala or Fuji work beautifully. For extra flavor, mix ½ tart and ½ sweet apple to balance the dessert's sweetness. Always slice them ¼-inch thick for even cooking.
Can I make this dessert ahead of time?
This recipe actually tastes better the next day! Bake it 1 day ahead, then store in an airtight container at room temperature. Reheat individual portions at 350°F for 5-7 minutes to restore that perfect chewy crumb. The flavors meld beautifully overnight!
How do I adjust the sweetness level?
For less sweetness, reduce the brown sugar to ½ cup and add 1 tsp extra cinnamon. For extra sweetness, increase the sugar to 1¼ cups or drizzle with 2 tbsp maple syrup before serving. Taste the filling before baking—this is where you can adjust!
What's the best way to serve this dessert?
Serve warm with a scoop of vanilla ice cream or a dollop of whipped cream for the ultimate contrast. For a fancy touch, garnish with a sprinkle of toasted cinnamon or a few chopped walnuts. It's also perfect as a breakfast dessert with coffee!